Setup Windows Admin Center in Azure Portal with PowerShell
At Microsoft Ignite Spring 2021 it was announced that Windows Admin Center was now available for Azure VMs through the portal. This post covers how to configure that new feature in PowerShell.
For the Admin Center to work we need two things - firstly we need to enable access from the machine accessing the portal to the VM on port 6156. This will depend on the topology of your Azure environment but is usually a case of modifying Network Security Group rules.
Secondly the Azure Windows Admin Center extension needs to be installed. This is where our PowerShell can come into play:
 1# Define $ResourceGroupName, $LocationName, and $VMName
 2# Add WAC Extension
 3$PublicSettings=@{"port"= "6516";
 4          "cspFrameAncestors"= ("https://portal.azure.com",
 5                                "https://*.hosting.portal.azure.net",
 6                                "https://localhost:1340");
 7          "corsOrigins"= ("https://portal.azure.com",
 8                                "https://waconazure.com")
 9                  }
10Set-AzVMExtension -ResourceGroupName $ResourceGroupName `
11                  -Location $LocationName -VMName $VMName `
12                  -Name "AdminCenter" -Publisher "Microsoft.AdminCenter" `
13                  -Type "AdminCenter" -TypeHandlerVersion "0.0" `
14                  -settings $PublicSettings
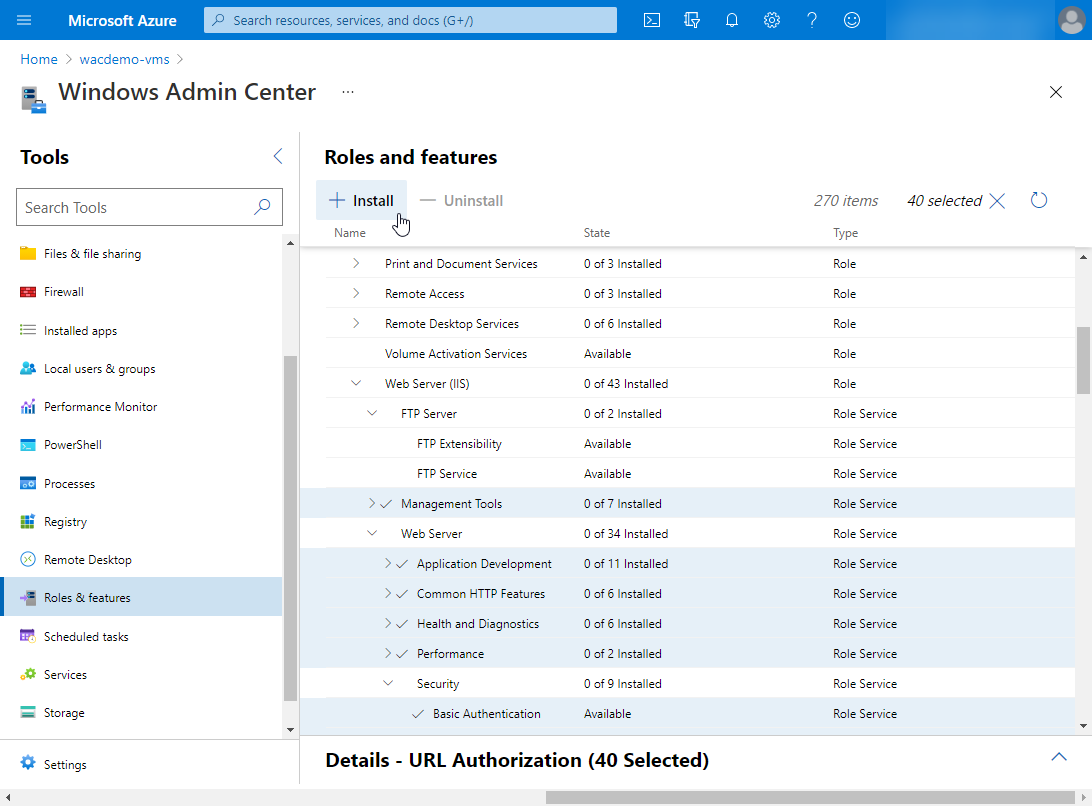
This will install the extension and then, after it has configured itself, Windows Admin Center for this VM is available through the portal.
More details of the announcement can be found on the Windows Server Blog and the full docs are at aka.ms/wacportaldocs