New Media Centre Part 2
Following on from New Media Centre Part 1 where I put the hardware together it was time to move onto installing the software- XBMC.
I’d chosen to use XBMCbuntu. This is an all-in-one install with an Ubuntu Linux operating system and the XBMC software on top. As this server will only be used for the one purpose this made sense.
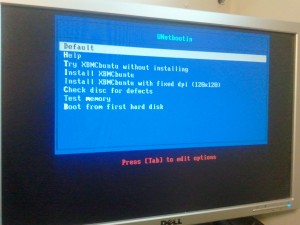
The software was installed using a USB memory stick (as discussed in part 1 of this article). Popped the USB stick into the front of the Microserver, turned it on, and up popped the XMBC boot screen. The observant reader may notice that the picture shows this running on a small Dell monitor rather than the television- it’s lucky that I decided to fit that VGA connector as it turns out that “software installation time” clashed with “kids watching TV time”.
Anyway, the boot screen offers the choice of trying or installing XBMC. My decision’s already made (and the harddrive is blank anyway so there’s no loss if I change my mind) so I went ahead with the install option. This leads to a series of standard install screens asking for information on my language and location. Once these straightforward screens are completed the install spends some time copying some files and then prompts me to removed the USB stick and reboot.
Following the reboot the XBMC system comes up first time and is ready to use. Altogether a very straightforward install process and the system was playing video through my TV within a couple of hours of the postman knocking on the door.