New NUC Based Home Lab
Inspired by the folks at the London VMUG, I finally got round to starting on a proper home-lab for the bits of hands-on IT learning that I can’t do with a Virtual Machine on my laptop, VMware Hands on Labs and the like.
I’ve based this around the 6th Generation Intel NUC (“Next Unit of Computing”) platform. Hopefully this balances my requirements of budget, computing power, electric usage, and noise output (this is a HOME lab after all). I want the platform to be flexible, being able to run different hypervisors, operating systems, and applications depending on what I want to experiment with at the time.
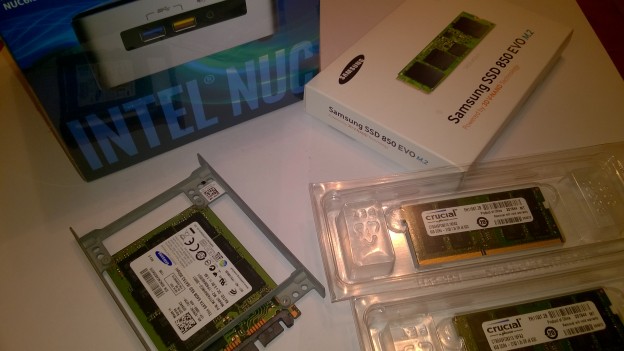
Components
- Intel 6th Generation NUC NUC6i5SYH barebones system
- Samsung 250GB 850 EVO M.2 SSD
- 2x8GB DDR4 SODIMM
- 60GB 2.5in SSD (Recycled from an old laptop)
Construction
The NUC is a small but very solidly built piece of kit. The lid pops off by undoing four captive screws in the feet (awesome idea this- you’re not going to lose the screws if they stay attached!) revealing the insides.
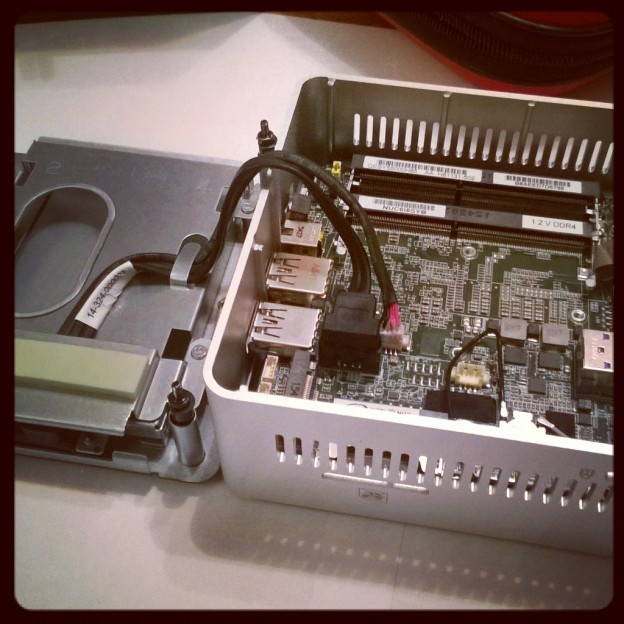
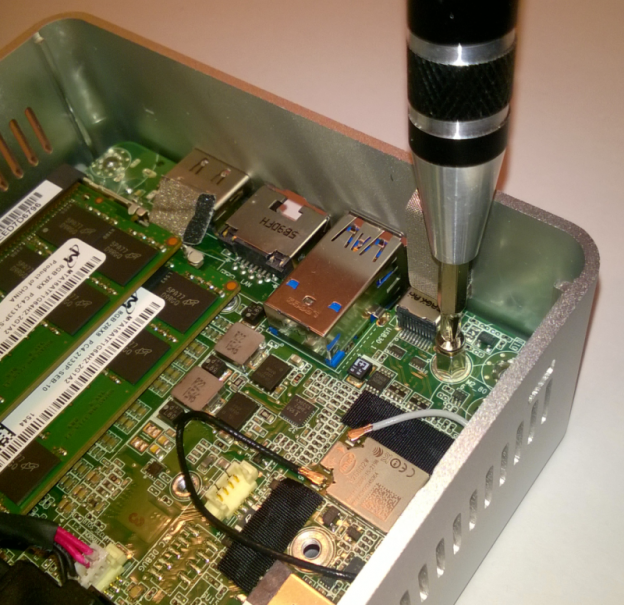
All the necessary slots are easily accessible so it was straightforward to fit the SSDs and memory- the only additional tool required was a smaller screwdriver to work the M.2 retaining screw. With the parts fitted the case slotted neatly back together and the four screws in the feet were tightened, the task took only a couple of minutes to complete.
Next Up: Installing the ESXi Hypervisor on a 6th Generation Intel NUC