Installing ESXi on the NUC
Welcome to Part 2 of my Home Lab series (it’s now twice as long!) where I install the Hypervisor. The 6th Generation Intel NUC hardware is all assembled and working, so now it’s time to put some software into the mix.
I’ve chosen to start with VMware vSphere ESXi 6- the VMware Hypervisor is the one I’m most hands-on with at work at the moment so high in my learning priorities. Whilst waiting for the hardware to be delivered I did some background reading (thanks in particular to Florian at Virten.net) and got myself prepared with a downloaded copy of the vSphere Hypervisor (version 6, update1, 201601001-3380124 release) deployed to a bootable USB stick using the Rufus tool.
Everything seemed to be going smoothly, the USB stick went into the NUC, booted first time, got into the installer and then…… PSOD.
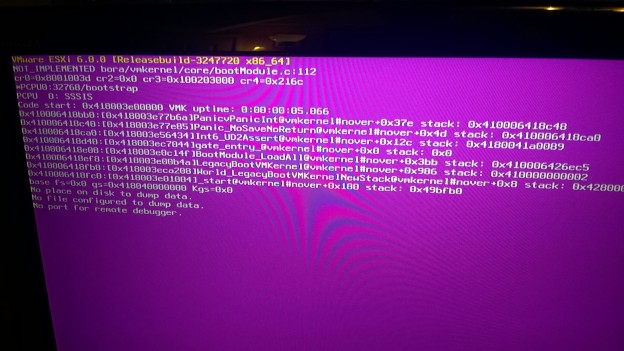
Checking up the error on the VMware Knowledgebase pointed me to a corrupt source. I tried re-downloading the ISO, tried a slightly different release. Nada. The PSOD kept appearing. Then I scanned the USB stick for bad sectors, it found lots.
Is the #VMware PSOD Pink or Purple? Either way I now have a USB stick in the bin and #homelab installation is proceeding.
— Chris Bradshaw (@aldershotchris) February 11, 2016
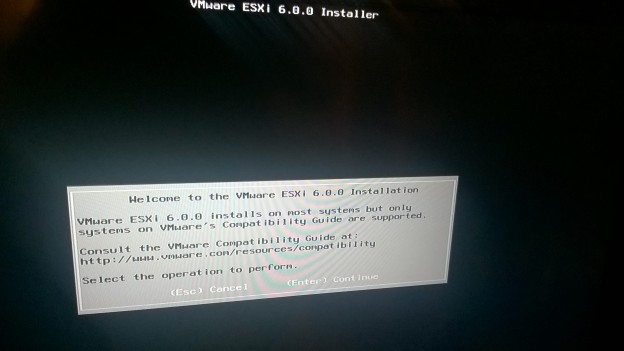
I started again with a new USB stick and quickly got past the point where it had been falling over. The ESXi installation actually made it through to the “Welcome” message.
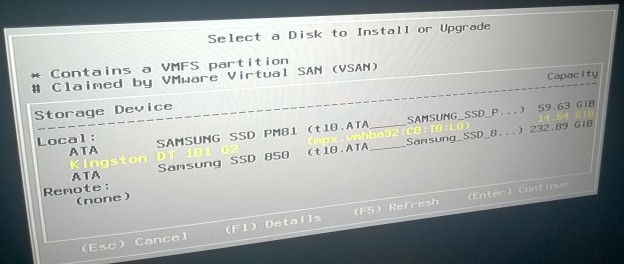
The installation from this point is primarily a case of pressing Enter to Continue- the important step was selecting an install location. I chose the USB (the same one I had the source data on)- that way I’m not using the built in drives and it leaves me the option of swapping out the hypervisor in the future. The installation continued, I entered a root password, and once the installer had completed the box rebooted.
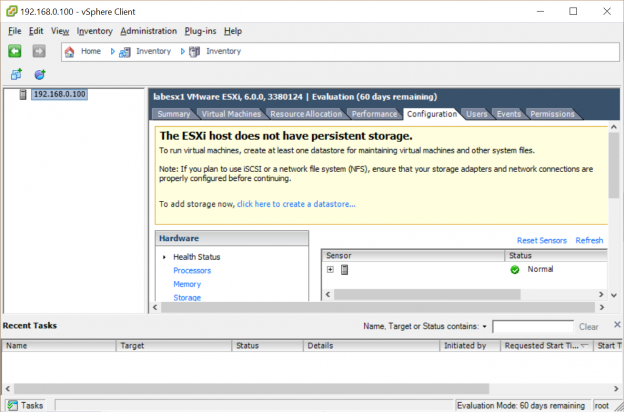
Following the reboot everything was good to go. The box picked up an IP address from my home network and was visible to the vSphere Client on my laptop, all that was left was to configure the storage and network and then I would be all set to install a guest operating system or two. Or three. Or four……