Virtual Machine Backups with Veeam
So, I’ve got my Home Lab on a NUC setup and running the VMware ESXi 6 Hypervisor. Before I get too carried away “experimenting” I want to be a good sysadmin and ensure that I can backup (and restore) my Virtual Machines.
Even though on the whole they are test/dev environments there is still plenty of work going into them that I either don’t want to lose during that endeavour, or want to archive and possibly return to at another time. I’ve chosen to start with the Veeam Backup Free Edition v9. This powerful yet free tool offers the ability to archive an entire VM into a single compressed “VeeamZIP” file and restore the VM (or individual files from the Guest OS) to the same hypervisor or a different location.
Installation
Installation is through a straightforward Setup Wizard, largely a case of clicking “Next”, and “Install” as appropriate. The installer also includes all the prerequisites, such as .NET and SQL Server Express so it can install on a clean, vanilla, build of Windows Server 2012R2.
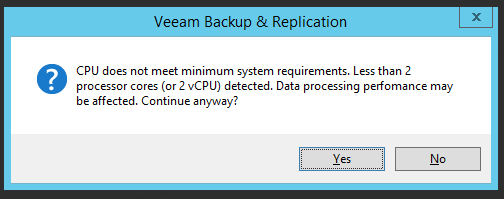
If (like me) you have under-specced the VM (my instance isn’t running in an enterprise environment) then warnings are posted about the implications, but this doesn’t prevent the installation from progressing. My instance is provisioned with a single CPU core, 4GB RAM, and a 40GB Hard Drive.
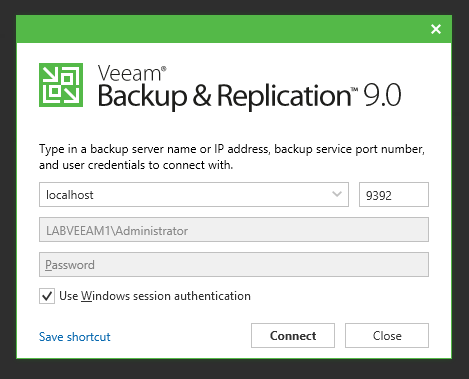
Once the application is launched, a login dialog appears. Single sign-on with the current Windows account is enabled so alternative credentials are not required at this point.
Connecting the Hypervisor
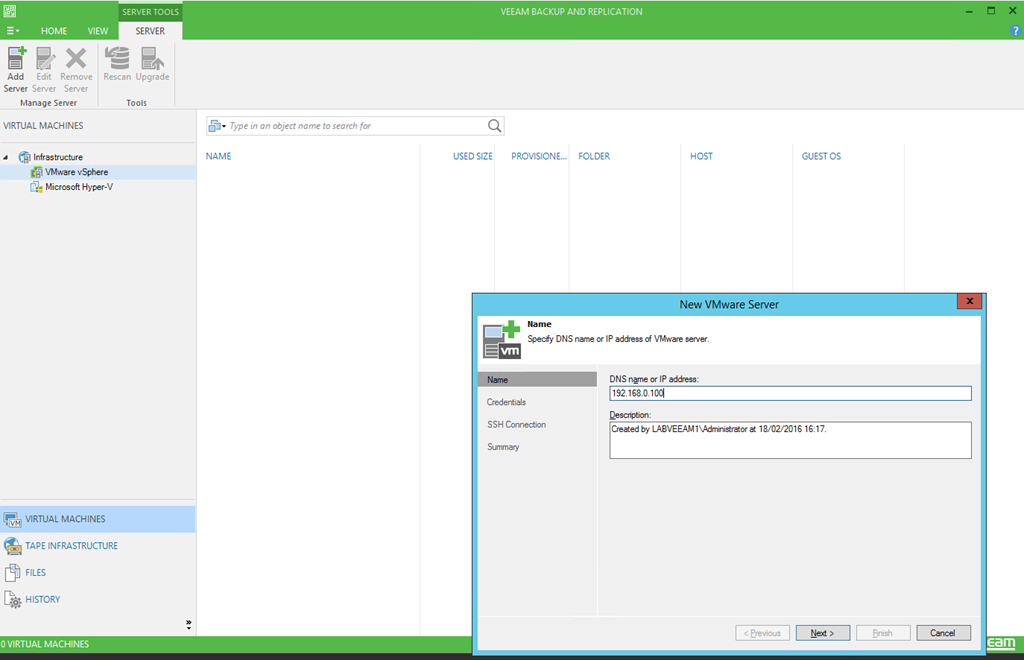
The next stage is to setup a connection to the ESXi host- I don’t have a vCenter Server running on this HomeLab. Select VMware vSphere from the left hand side, and then click on Add Server from the ribbon. This launches a Wizard where you specify the details of the hypervisor, including vSphere credentials.
Once this Wizard is completed, the Virtual Machines on the host should be visible in the Veeam console
Running the first backup
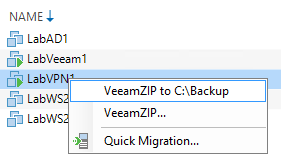
Now that the backup software is installed and the Hypervisor is connected it’s time to perform a backup. This again is simple, and a backup to the default location with default settings can be launched quickly from the right-click context menu of a VM. More in-depth options are available, but this is a very quick and straightforward starting point.
Restoring the backup
Obviously there’s no point carefully backing up data if it can’t be restored, so it’s important to test the recovery process. Veeam Backup offers the ability to restore an individual file from within a backed up VM (for example to retrieve a specific .ini file from a backed up Windows Virtual Machine) or to restore the entire VM from the VeeamZIP file to a virtual infrastructure.
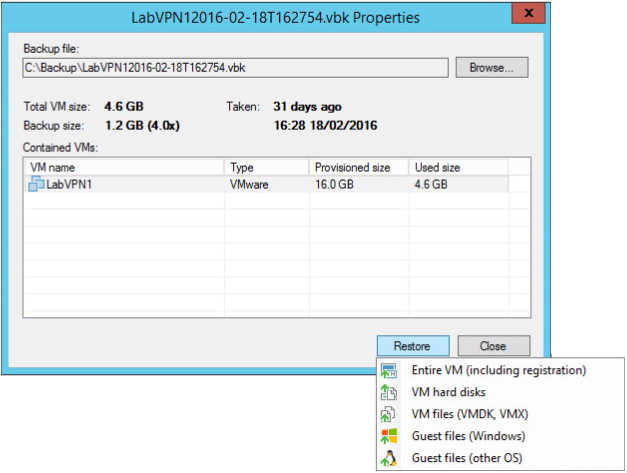
As with the backup itself, restoring is straightforward as well- the restore can be kicked off by double-clicking on the VeeamZIP file in Windows Explorer. This opens the application and launches a wizard to oversee the restore process. In this example the entire VM will be restored to an alternative location (the original is still running and I don’t want to overwrite it, although that is possible)
Once the wizard has launched, select the VM (it’s possible to have several VMs in a VeeamZIP archive) and click on Restore. Select “Entire VM (including registration)”.
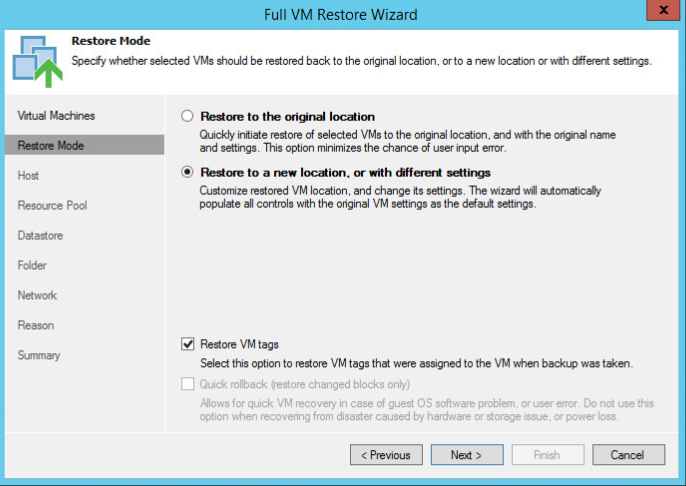
The “Full VM Restore Wizard” will launch from here, select the Virtual Machine and then on the next screen choose to “Restore to a new location, or with different settings”
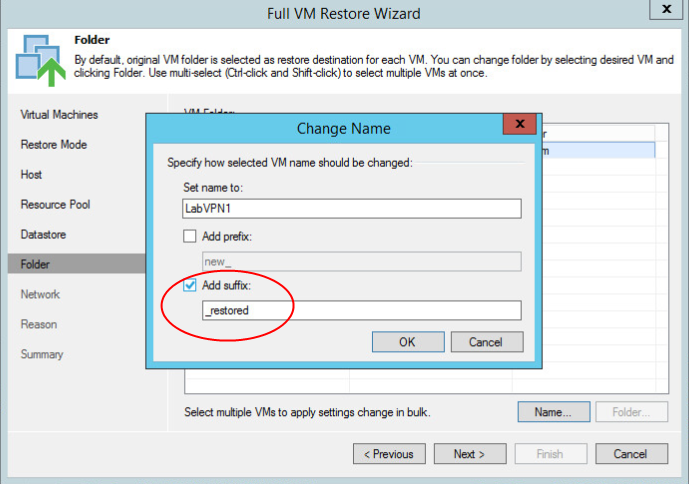
Next, select the host to restore the VM to (if there is a choice), choose a datastore to recover to, and then specify a new name for the restored VM (here I used the suffix _restored).
Work through the rest of the Wizard- I chose to disconnect the Network connection as this VM has a fixed IP address that I do not want to conflict with- check the summary details are correct, and then click Finish.
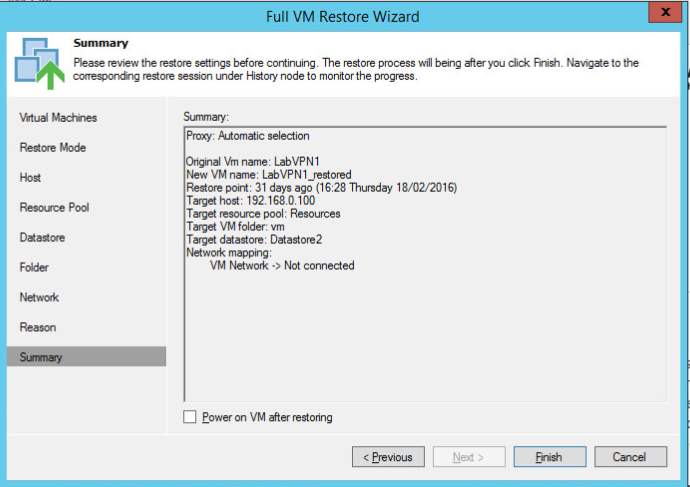
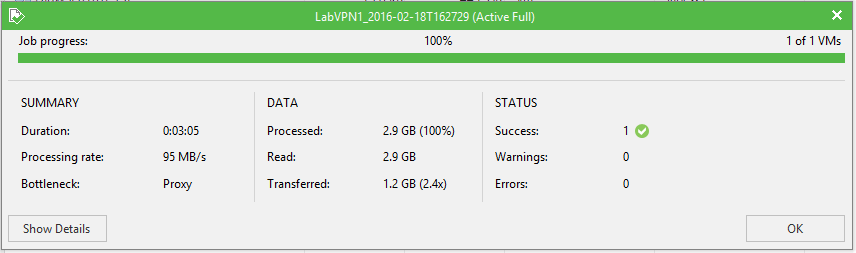
The VM Restore will then start, and progress will be shown on screen- this restore took 2 minutes on my HomeLab for a Linux VM with 2.67GB of storage attached, and I can fire up the old copy of the VM alongside the currently running one without any conflicts.

Next Steps
There’s plenty more work to do here. For starters I’m storing the backups locally on the Veeam VM- I’ll need to store them in an alternative (ideally off-host) location so I can accidentally/on-purpose wipe the HomeLab and start again. Veeam Backup and Restore also includes some PowerShell controls, so I may invest some time in setting up some automation around my HomeLab backups.